Welcome back to our ongoing journey of harnessing the power of ChatGPT to create captivating Flutter app screens. In our previous blog, we successfully designed Task Details and Creation Screens with ChatGPT’s guidance and code generation. Now, let’s continue our exploration by diving into two crucial screens: Profile and Settings.
Profile Screen:
As we delved into the Profile Screen creation, I turned to ChatGPT for assistance. My prompt was clear:
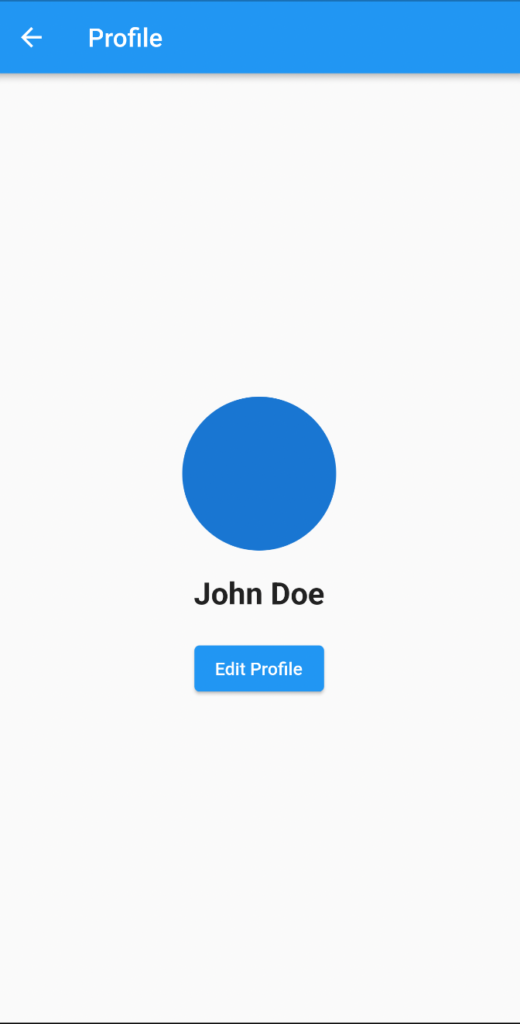
“Share full flutter code for Profile Screen: – Display user profile information, such as name and profile picture. – Allow users to update their profile picture or other details.”
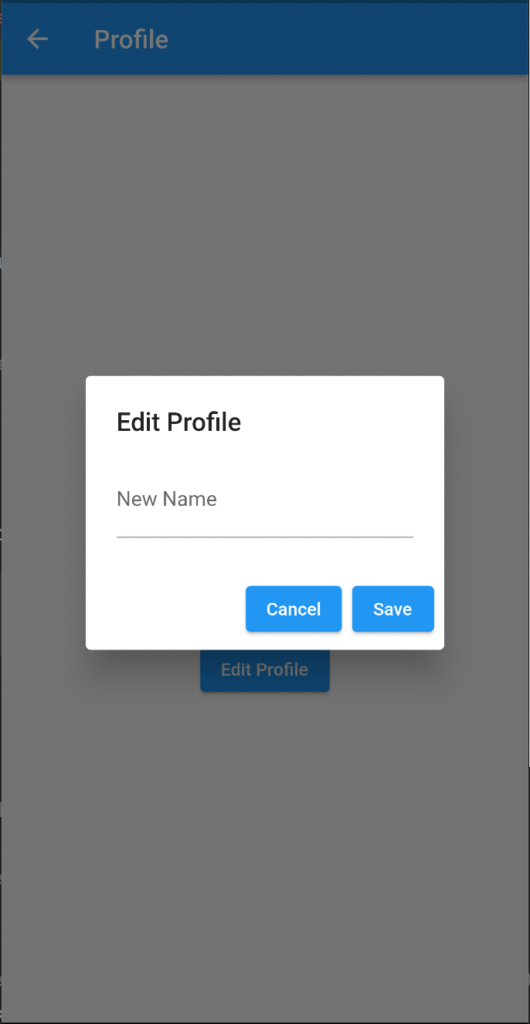
ChatGPT provided me with a code snippet, which looked promising. However, as I tried to implement it, I encountered an issue:
“Local variable ‘newName’ can’t be referenced before it is declared.”
This was an unexpected hurdle, but with some debugging and adjustments, I was able to resolve it.
Next, I wanted to know how to navigate to the Profile Screen from another part of the app. ChatGPT responded with detailed steps:
- Define a Route for ProfileScreen:
Within my app’sMaterialApp, I defined a named route for theProfileScreen. This route definition is crucial for navigation. - Navigate to ProfileScreen:
On the screen where I wanted to enable navigation to the Profile Screen, I used theNavigator.pushNamedmethod. This allowed me to navigate to the Profile Screen effortlessly.
While this approach worked, I wasn’t entirely satisfied. I found the process a bit complex, involving multiple steps. But ChatGPT proved its flexibility and adaptability when I asked:
“How to add a left drawer in the task list screen to navigate to this screen?”
The response was a revelation. ChatGPT provided a step-by-step guide, along with code examples, to seamlessly integrate a left drawer into the Task List Screen. This drawer would include a “Profile” item, which, upon tapping, would smoothly navigate to the Profile Screen.
As I followed the instructions and implemented the suggested code, I was thrilled to see the drawer in action:
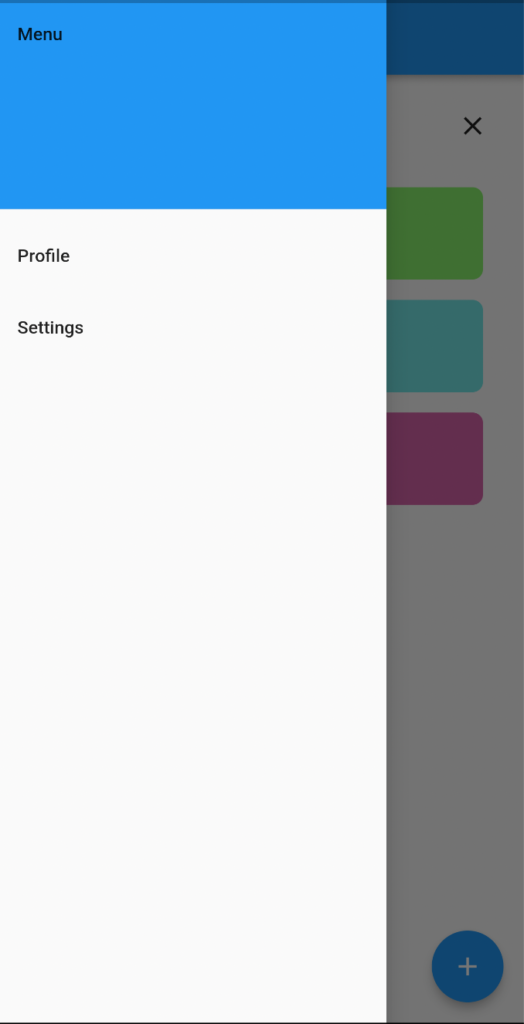
With just a few prompts, ChatGPT had guided me through creating a left drawer for navigation, making the user experience even more intuitive and seamless.
Settings Screen:
Curious about crafting a dynamic Settings Screen, I turned to ChatGPT with the prompt:
“Settings Screen: Provide options for users to customize app settings, such as theme selection or notification preferences.”
While the response provided a starting point, I wanted to take it a step further. I asked for navigation to the Settings Screen from a drawer, and ChatGPT didn’t disappoint. The result was a clear and concise guide to adding navigation:
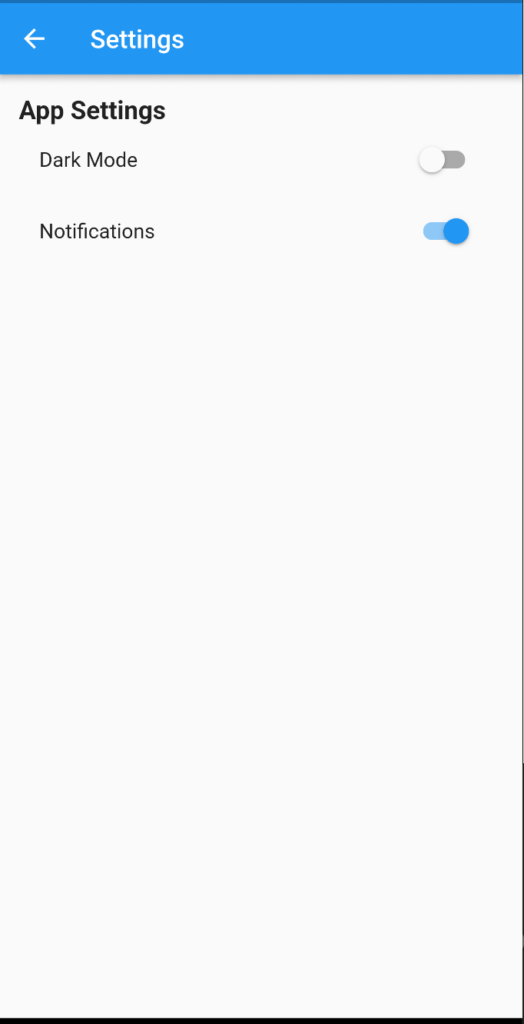
And there it was, my Settings Screen equipped with both customization options and intuitive navigation.
In this blog, we’ve explored the creation of Profile and Settings Screens using ChatGPT’s invaluable assistance. With ChatGPT as our guiding companion, we’ve delved into complex UI components and navigational structures, all with the goal of simplifying the app development journey. Stay tuned for our next installment, where we’ll tackle more exciting challenges and discover the endless possibilities of app creation with ChatGPT.