Welcome back to the third installment of our Flutter Todo app design series with the help of ChatGPT! In the previous blogs, we explored how ChatGPT assisted us in designing the login and registration screens, making our app development journey effortless and enjoyable. In this blog, we’ll dive into the enchanting world of designing the Task List Screen using ChatGPT’s friendly guidance. From sticky note-inspired designs with random colors to removing the app bar and adding a close button, we’ll cover it all. Let’s embark on this magical adventure and witness how ChatGPT unleashes the power of creativity in our Flutter Todo app!
Step 1: Designing the Task List Screen
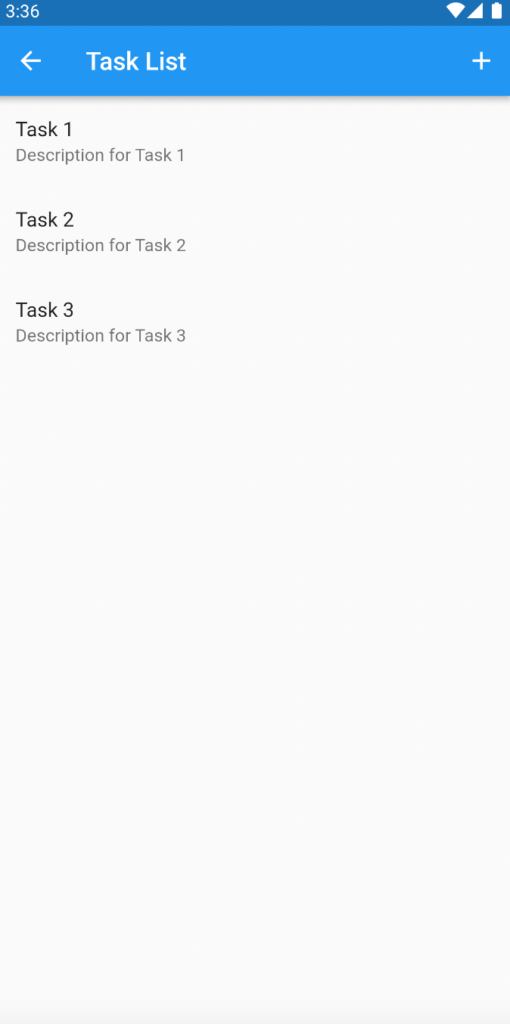
To begin, I asked ChatGPT to design the Task List Screen, following the same appealing design style we implemented for the login and registration pages. It promptly guided me to create a new file called task_list_screen.dart and define the TaskListScreen widget. This widget acts as the foundation for our Task List Screen.
prompt : “Design Task List Screen, follow same design of previous login and registration page”

Step 2: Navigation from Login screen
prompt: “how to navigate to this screen on clicking login button”
ChatGPT introduced the concept of named routes in Flutter. It showed me how to define the TaskListScreen route in the main.dart file, allowing smooth navigation between screens. By using Navigator.pushNamed, I learned how to navigate to the Task List Screen when the user clicks the login button on the login page.
  routes: {
        '/': (context) => LoginScreen(), // Your existing login screen
        '/taskList': (context) => TaskListScreen(), // TaskListScreen route
      },
Step 3: Adding Sticky Note Design with Random Colors
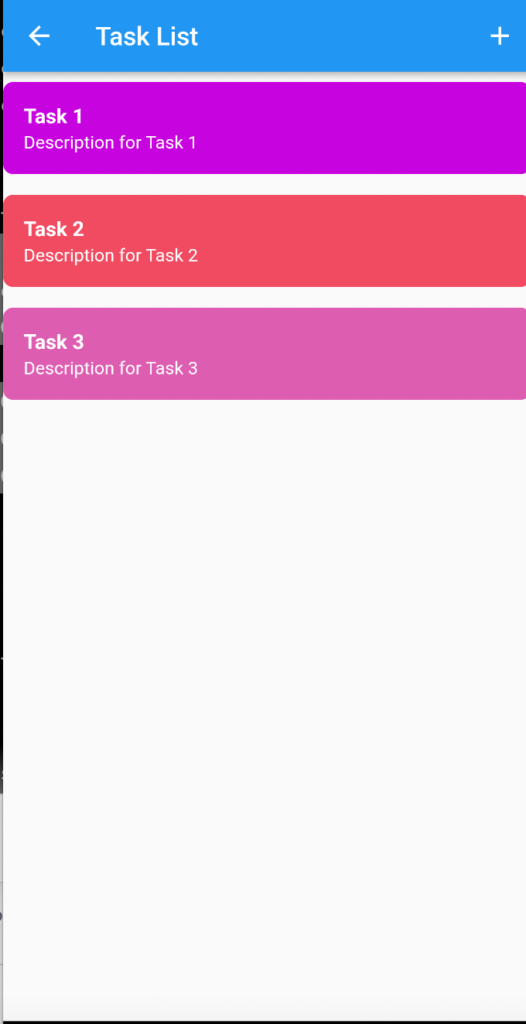
prompt: “can you add sticky note design for task item in the list with random color”
While the functionality was in place, I wanted to elevate the user experience by adding a touch of creativity. I asked ChatGPT to design sticky note-inspired task items with random colors. It swiftly generated a function named _getRandomColor() to generate light and vibrant colors for each task item, adding visual variety to the Task List Screen.
Color _getRandomColor() {
    final random = Random();
    return Color.fromARGB(
      255,
      random.nextInt(256),
      random.nextInt(256),
      random.nextInt(256),
    );
  }
Step 4: Styling with Margins
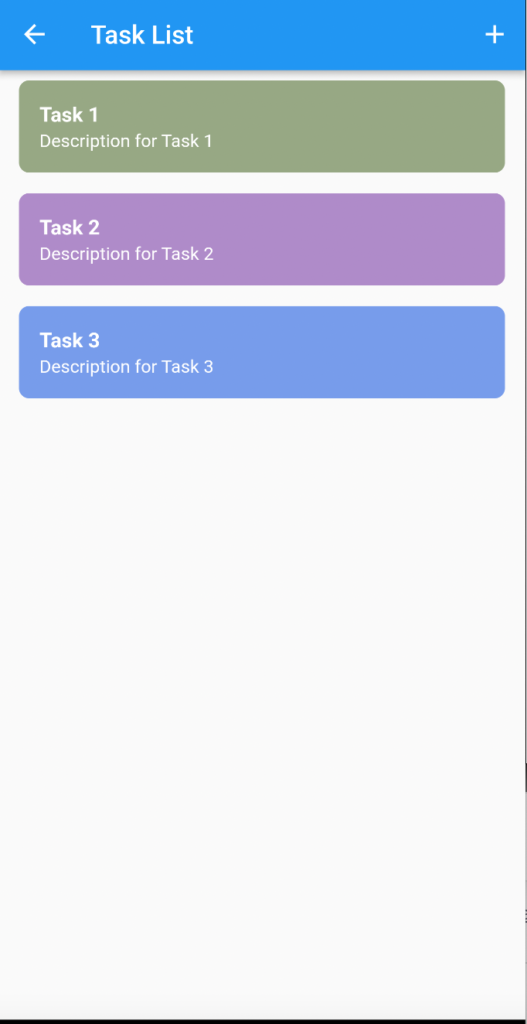
To further enhance the layout, I requested ChatGPT to add margins from the left and right sides of the Task List Screen and generate light random color. It effortlessly adjusted the padding, providing a clean and well-aligned design that captures the user’s attention.
 Color _getRandomColor() {
    final random = Random();
    int red = random.nextInt(200) + 56; // Lighter red (56-255)
    int green = random.nextInt(200) + 56; // Lighter green (56-255)
    int blue = random.nextInt(200) + 56; // Lighter blue (56-255)

    return
}
Step 5: Replacing the App Bar with a Close Button
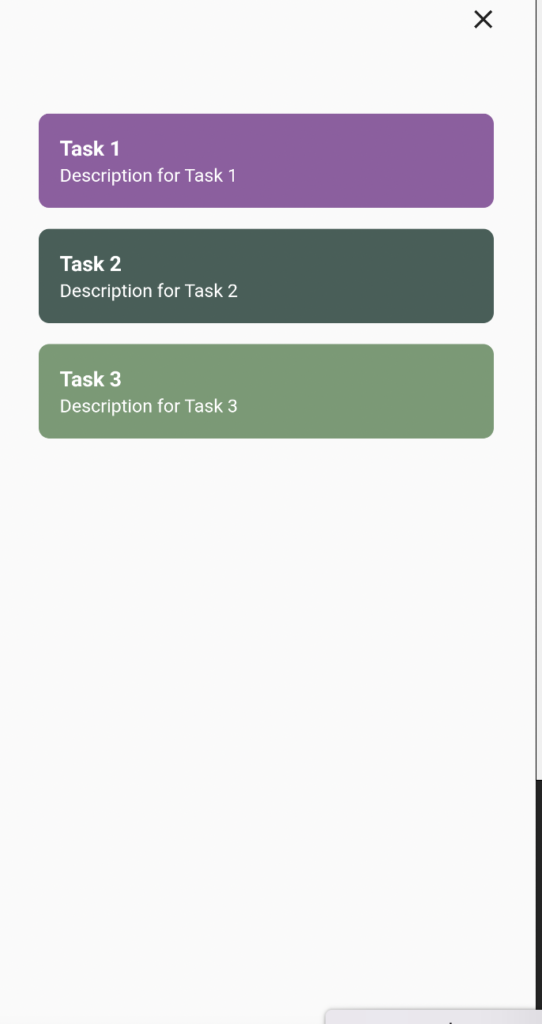
prompt : “please remove appbar and use close button on the top“
To create a more immersive user experience, I decided to remove the app bar and add a close button at the top of the screen. By using a Column, ChatGPT organized the close button and the task list vertically, while the Align widget positioned the close button to the right, giving the screen a seamless and user-friendly look.

Conclusion:
As we conclude this blog, we’ve witnessed the magic of ChatGPT in designing our Task List Screen for the Flutter Todo app. From sticky note-inspired designs to random light background colors, and the removal of the app bar with the addition of a close button, ChatGPT has transformed our app’s visual appeal. Stay tuned for the next blog in the series, where we’ll explore even more exciting features with the help of ChatGPT. With this AI-powered assistant by our side, app development becomes an enchanting and effortless journey. Happy coding!
https://github.com/shyjuzz/task-manager-flutter/tree/main/blog2/lib/screens

1 thought on “Building a Flutter Task List Screen with ChatGPT in 2023”